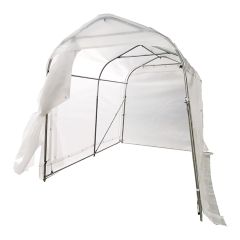
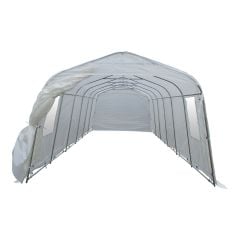
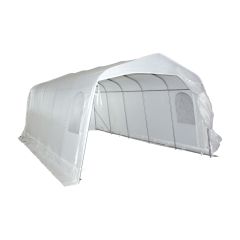
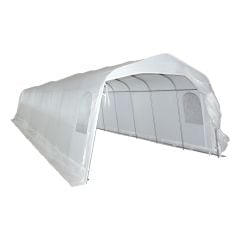
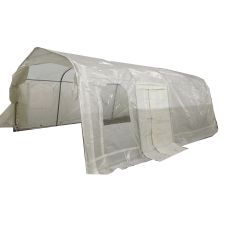
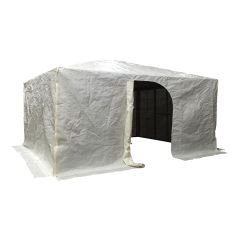
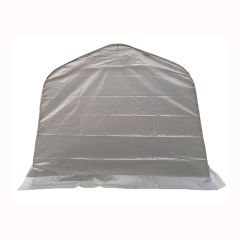
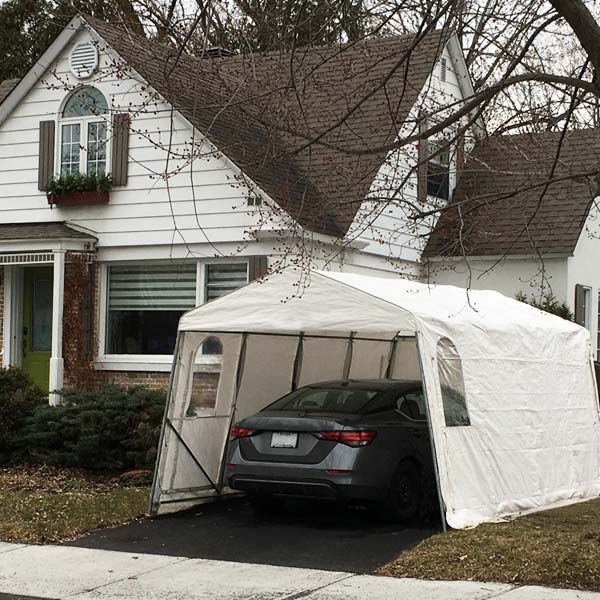
If you don’t have a garage, car shelters can be very useful in winter for keeping the snow and ice off your car in bad weather. But they have to be installed properly to make sure that they don’t buckle under heavy snow or get blown away by the wind.
Installing your car shelter in 5 easy steps
Ideally, get together at least two people to install your car shelter and choose a day with no wind or precipitation.
Then, just follow these steps:
1. Unless your car shelter is designed to be mounted on a wall, be sure to set it up at least 1.2 metres (4 feet) away from any buildings. This way, any snow that falls off nearby rooftops will not pile up on top of the shelter.
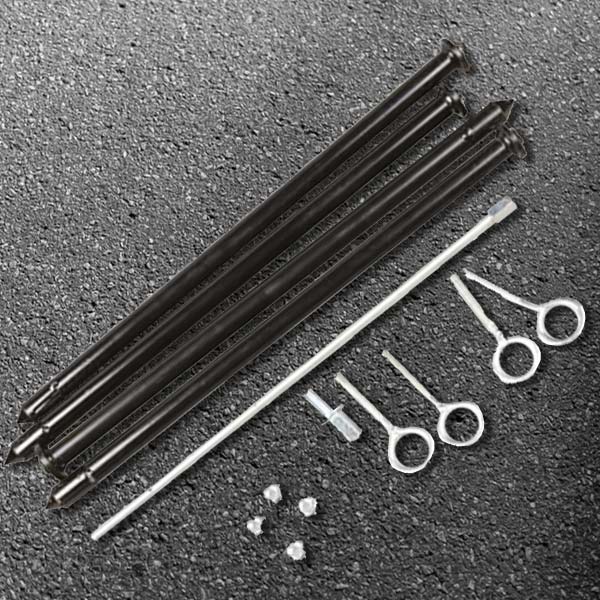
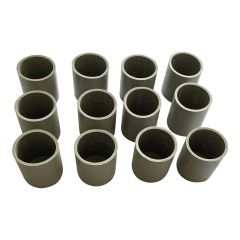
2. Insert the metal tubes into each other, bolting them securely so that the frame will be sturdy when upright.
3. Use anchors to secure the frame to the ground:
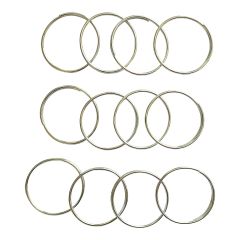
- Temporary anchors: With this type of system, anchor point rings are screwed into rods, which must be driven into concrete, asphalt or pavement.
- Permanent anchors: With this type of system, anchor point rings are screwed into rods, which must be driven into concrete, asphalt or pavement.
Note that the anchors must be placed symmetrically on either side of the shelter, no more than 3 metres (10 feet) apart.
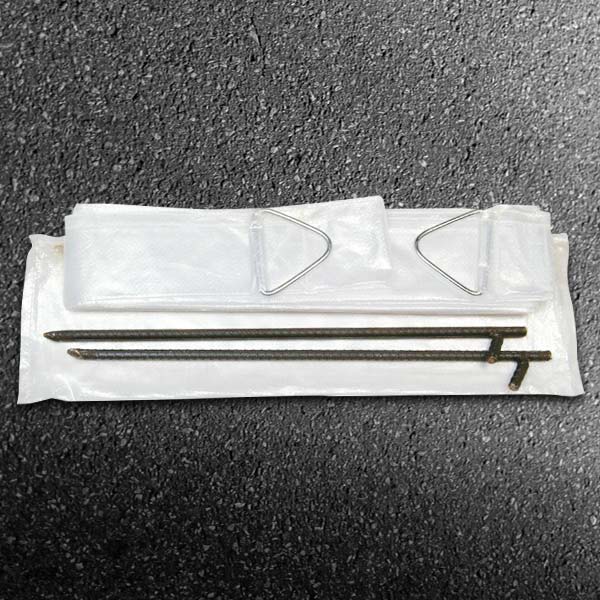
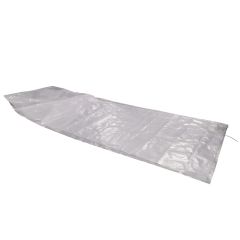
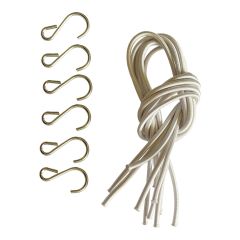
4. Put the cover over the metal frame. If it has a strap-and-tie system, tie the straps tightly to the frame. Otherwise, secure the cover with a 3/16-inch cord, lacing it through the strip of eyelets to ensure the tension is evenly distributed for a more secure hold.
It is important to get the tension just right—not too tight, but not too loose. Too much tension can cause the cover to tear if it rubs against the metal in the wind, and not enough tension will cause sagging, creating pockets where snow and water can accumulate.
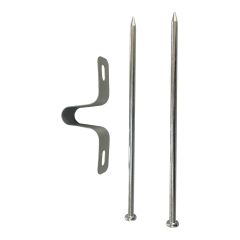
5. For an even sturdier shelter, you can use heavy-duty anti-wind straps attached to long metal stakes driven into the ground in each corner. However, do not use ratcheting straps belted around the shelter. These can rub against the cover in high winds, causing premature wear.
It is also important to know that it is not safe or recommended to use concrete blocks to anchor your car shelter. If you are worried that your shelter is not secure enough, it is better to use sandbags or water bags around the outer base of the cover, though this is not necessary.
More tips and tricks
- Before installing a car shelter, it is a good idea to contact your municipality for information on the by-laws in effect, particularly regarding the minimum distance you can install it from public property such as sidewalks and roads.
- Never place wood furring, pieces of vinyl or any other material between the frame and the cover.
- Periodically check the cover tension, anchors and screws.
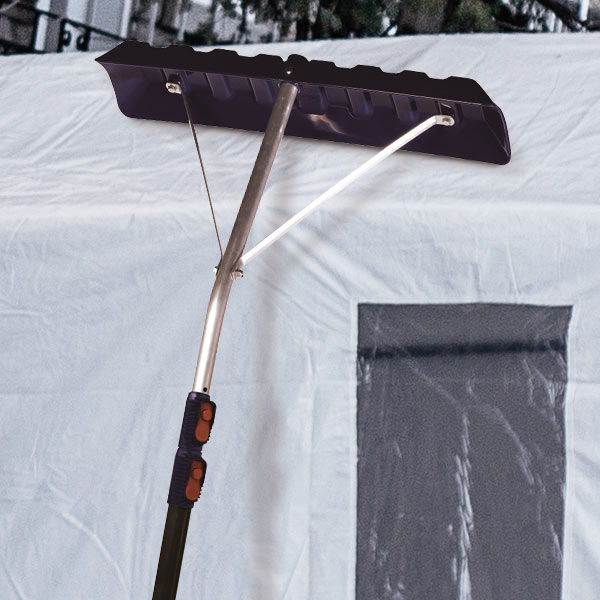
- Never let snow accumulate on the roof of your shelter. Remove it carefully with a broom or snow rake. If significant build-up occurs, it is better to remove it a little at a time, on one side and then the other. This prevents the snow from destabilizing the frame.
- Always keep the front and back doors to your shelter either both open or both closed. If only one door is open, the wind can come in and create pressure on the roof. If the anchors are not strong enough, the shelter will blow away.
- Never leave a car running inside the shelter.
- When you dismantle your car shelter for spring, clean it with a mild soap, rinse it and allow it to dry fully before storing it in a dry location.
When to install your car shelter
It is generally recommended that you install your car shelter after the second week of November, as before that, Quebec often experiences high winds. If you are going to install your shelter earlier, make sure the frame is very secure.
Additionally, some municipal by-laws set specific dates when car shelter installation is allowed, generally between mid-November and late March, with possible extensions if required due to seasonal conditions. So, it is best to check in advance.

Shop your car shelter and its accessories at BMR.ca or ask expert advice in store.
